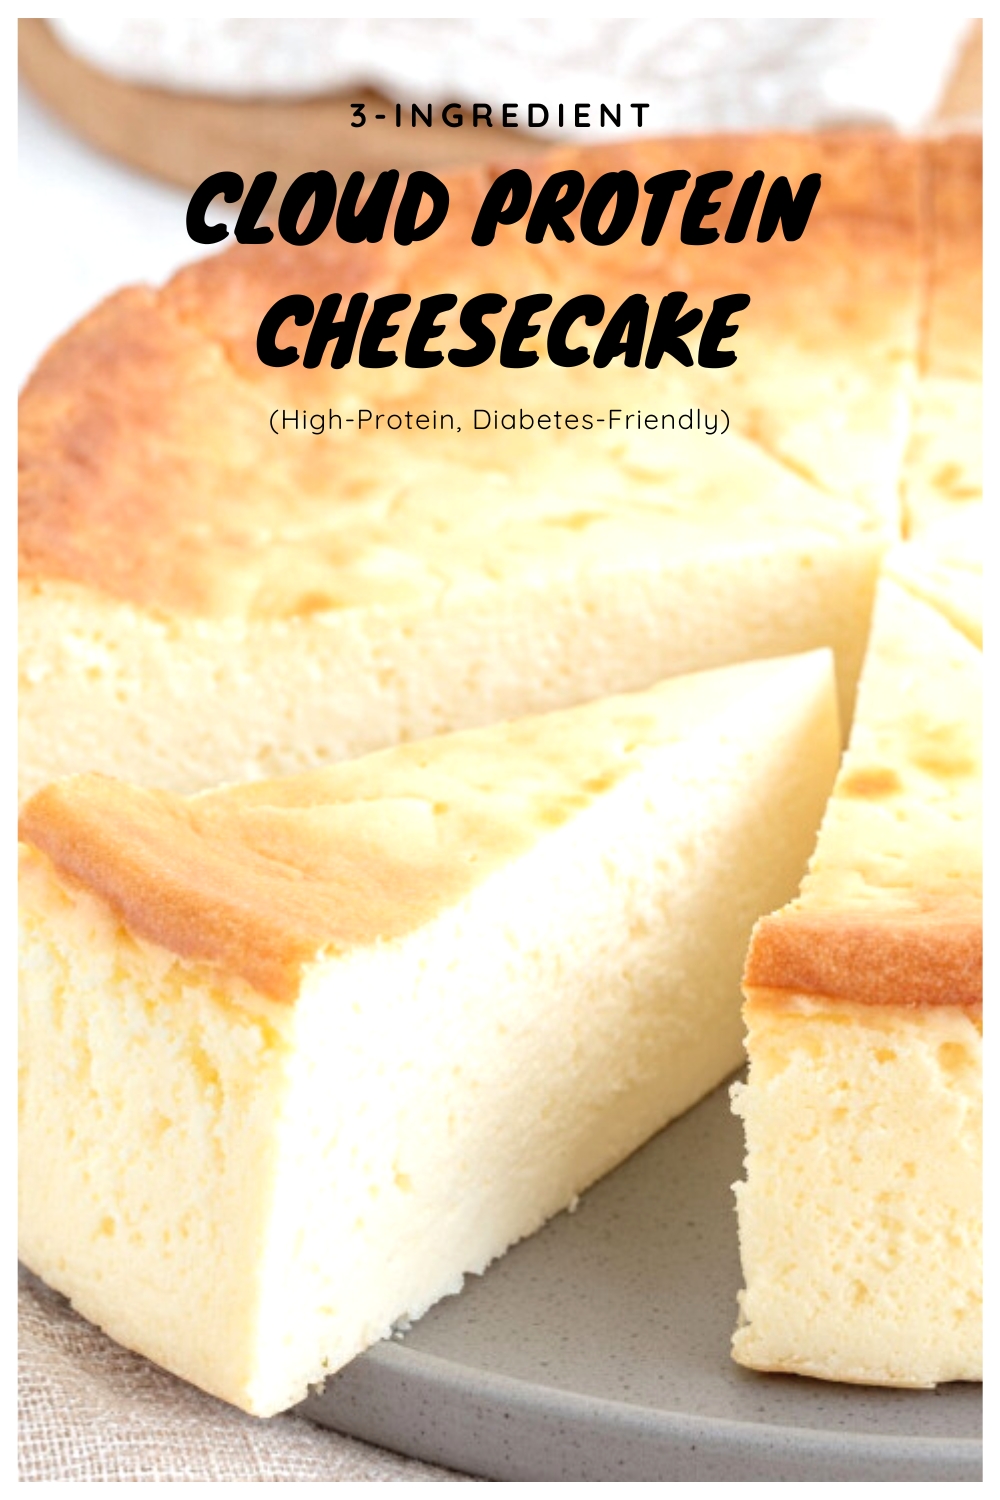
Forget dense, heavy batters. This keto cheesecake recipe transforms simple ingredients into a shatteringly light, mousse-like cloud that melts instantly on your tongue. It’s the ultimate high-protein hack for when you need a luxurious treat, ready in just a few blender pulses.
Impossible Lightness: Unlike traditional heavy cakes, this batter relies on the aeration of eggs and the unique structure of cottage cheese to create a texture that feels like a cross between a soufflé and a custard.
The Blender Advantage: There is no creaming butter or softening cream cheese blocks here. The high-speed blades break down the curds instantly, creating a silky emulsion in seconds.
Flavor Alchemy: The white chocolate acts as both a sweetener and a stabilizer. As it cools, it sets the cake into a firm yet yielding texture, completely masking any savory notes from the base.
Making the “Cloud” Cake
The magic of this crustless keto cheesecake recipe lies in the temperature. You’ll start by gently melting your sugar-free white chocolate until it’s silky smooth. It’s vital to let it cool slightly so it doesn’t scramble your eggs.
While that cools, blitz the room-temperature eggs and cottage cheese. This is where the transformation happens—the grainy curds vanish into a velvety liquid gold. Pour in the chocolate, pulse briefly, and you are ready to bake.
A water bath is non-negotiable here. Placing your cake pan inside a larger dish filled with water ensures the heat distributes gently.
This prevents the edges from drying out while the center sets into that perfect, wobbly consistency. It’s the same technique used in the American Table’s 3-Ingredient Yogurt Custard Cake, making it a foolproof method for delicate batters.
Expert Tips & Variations
Room Temperature is Key: Cold eggs will cause the melted white chocolate to seize and harden instantly. Ensure all ingredients are ambient before blending for a perfectly smooth pour.
Patience Pays Off: This cake needs to chill. Straight out of the oven, it is delicate and custardy. After 4 hours in the fridge, it firms up into a sliceable, rich treat.
Serve It Up: For a refreshing finish, pair a slice with fresh berries or a spoonful of Velvety Chocolate Greek Yogurt Mousse to add a tangy, creamy layer.
Frequently Asked Questions
Can I use low-fat cottage cheese?
I don’t recommend it. This cottage cheese keto cheesecake recipe relies on the milk fat for stability and creaminess. Low-fat versions contain too much water, which can lead to a soggy bottom or a cake that “weeps” while cooling.
Does this taste like cheese?
Not at all. The cocoa butter in the white chocolate is the dominant flavor profile. Most people are shocked to find out the base is cottage cheese because the texture is so similar to a light mousse.
How do I store leftovers?
Keep the cake covered in the refrigerator for up to 3 days. The texture actually improves and becomes fudgier the longer it sits in the cold!
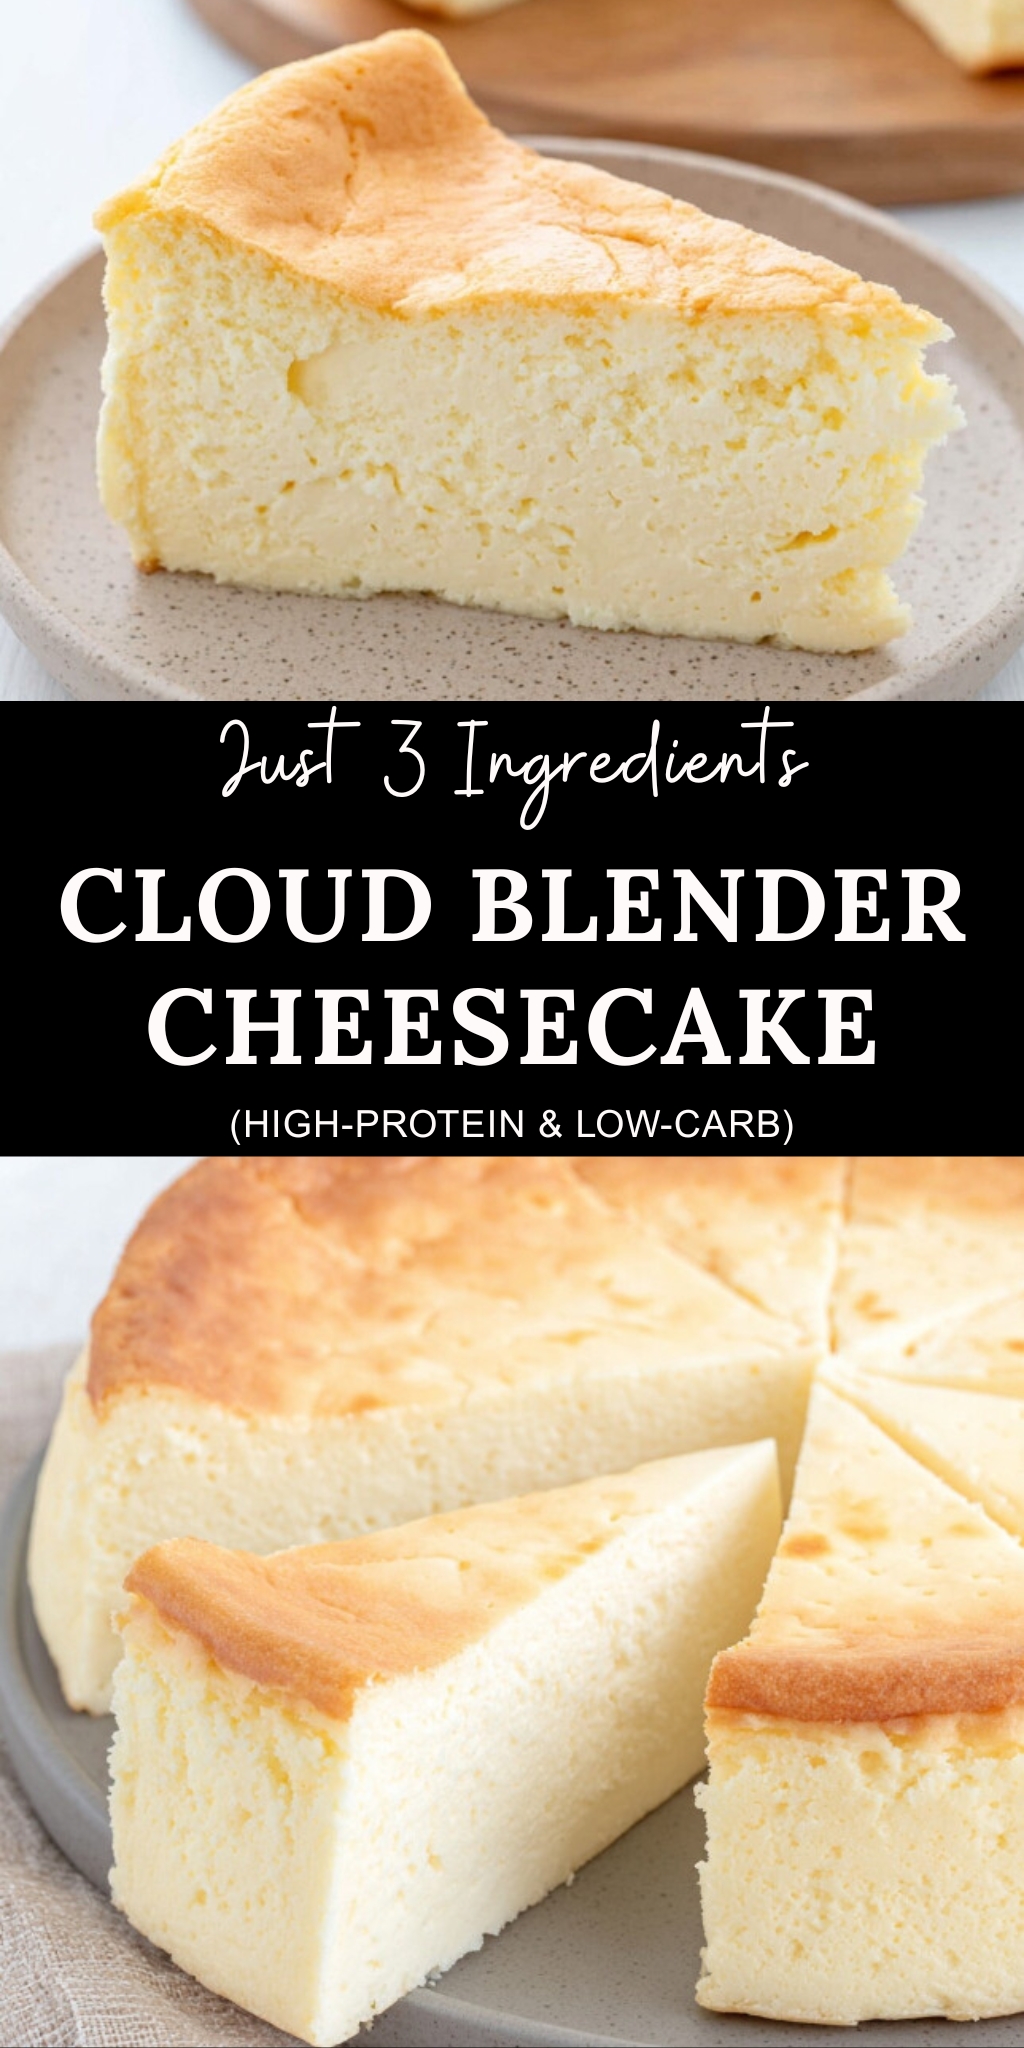
This is a lighter, fluffier evolution of the viral cottage cheese dessert. By adjusting the ratios to favor more protein-packed curds and slightly less chocolate, this version achieves a mousse-like consistency that is less dense than the original. It’s a simple, gluten-free, and sugar-free treat designed to satisfy cheesecake cravings with a lighter nutritional profile.
2/3 cup (100g) sugar-free white chocolate chips (stevia or erythritol sweetened)
Instructions
Prep the Oven and Pan: Preheat your oven to 350°F (177°C). Use a solid 6-inch aluminum cake pan (avoid springform pans to prevent leaks). Spray the bottom and sides with cooking oil, then place a parchment round at the bottom for easy release.
Melt the Chocolate: Place the white chocolate chips in a heat-safe bowl. Microwave in 20-second intervals, stirring vigorously after each, until smooth. Let it cool for 3-5 minutes so it is liquid but not hot enough to scramble the eggs.
Blend the Base: Add the cottage cheese and eggs to a blender. Blend on high speed for 30-60 seconds until the mixture is completely liquefied and velvety smooth (no graininess should remain).
Combine: Pour the slightly cooled melted chocolate into the blender. Pulse 3-4 times just until the chocolate is fully incorporated into the batter.
Create Water Bath: Pour the batter into your prepared cake pan. Place this pan inside a larger baking dish (like a 9×9 square). Fill the outer dish with hot tap water until it reaches about one inch up the side of the cake pan.
Bake: Bake for 40-45 minutes. The edges should look set and firm, while the center should still wobble slightly like Jell-O.
Cool and Set: Remove from the water bath and let cool on a wire rack. Once cool, cover and refrigerate for at least 4 hours (overnight is best) to allow the texture to firm up from a custard to a sliceable cake.
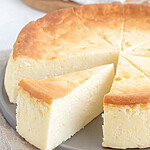
Texture Check: Because this version uses slightly more cheese and less chocolate than standard recipes, the texture is lighter—closer to a Japanese cheesecake or thick custard pie than a dense New York cheesecake.
Ingredients Matter: Use full-fat (4%) cottage cheese. Low-fat versions have too much water and will result in a wet cake.
Allergy Alert: This recipe contains Eggs, Milk, and often Soy (lecithin in chips). Ensure your chocolate chips are certified gluten-free if needed.
Personal Twist
Warm Spice: A tiny pinch of cinnamon or nutmeg (technically a 4th ingredient, but optional) added to the blender brings a warmth that mimics a custard tart.
Savory Note: Use a high-quality salted butter to grease the pan; the hint of salt on the crustless edge pops against the sweet white chocolate.
Espresso Shot: Serve with a shot of hot espresso poured over the slice (Affogato style) for a sophisticated finish that cuts through the creaminess.
Nutrition Facts (1 slice): Calories: 107 kcal | Total Fat: 6.5 g (Saturated Fat: 3.5 g) | Cholesterol: 75 mg | Sodium: 145 mg | Total Carbs: 7 g (Fiber: 2 g, Sugars: 1.5 g, Sugar Alcohol: 3 g) | Net Carbs: 2 g | Protein: 7.5 g
These values are approximate and may vary based on ingredients and preparation.
Prep Time:10 minutes
Cook Time:45 minutes
Category:Dessert
Method:Baking (Water Bath)
Cuisine:American
I hope this simple recipe brings a little joy to your kitchen! It’s one of those rare treats that feels indulgent but fits perfectly into a balanced day.
Disclaimer: I’m just a mom and researcher sharing the recipes that work for my family. Always listen to your own body and consult your doctor when making dietary changes!
Kristina Hanson is an independent wellness researcher and the founder of DailyZests. She specializes in translating nutritional science into simple, delicious recipes that fit into real life. When she isn’t in the kitchen, you’ll find her hiking the trails or enjoying a slow morning coffee with her Golden Retriever, Barnaby. Read her full story.
Navigating desserts with type 2 diabetes usually ends in frustration or a massive glucose spike. I gave this a shot this weekend. Used the exact sugar-free white chocolate chips and 4% cottage cheese. The texture is definitely more custard than traditional cheesecake, but it hit the spot. My continuous glucose monitor stayed completely flat afterward. The water bath step really is necessary, mine baked very evenly.
I am so thrilled to hear your glucose levels remained stable, Robert! By pairing the protein from the cottage cheese with the fats in the eggs, we slow down gastric emptying, which prevents those sharp spikes.

 This post may contain affiliate links.
")

")
")
")
")
")

")
")
")
")
Navigating desserts with type 2 diabetes usually ends in frustration or a massive glucose spike. I gave this a shot this weekend. Used the exact sugar-free white chocolate chips and 4% cottage cheese. The texture is definitely more custard than traditional cheesecake, but it hit the spot. My continuous glucose monitor stayed completely flat afterward. The water bath step really is necessary, mine baked very evenly.
I am so thrilled to hear your glucose levels remained stable, Robert! By pairing the protein from the cottage cheese with the fats in the eggs, we slow down gastric emptying, which prevents those sharp spikes.