
Velvety Low Carb Ninja Creami Strawberry Ice Cream (3 Ingredients!)
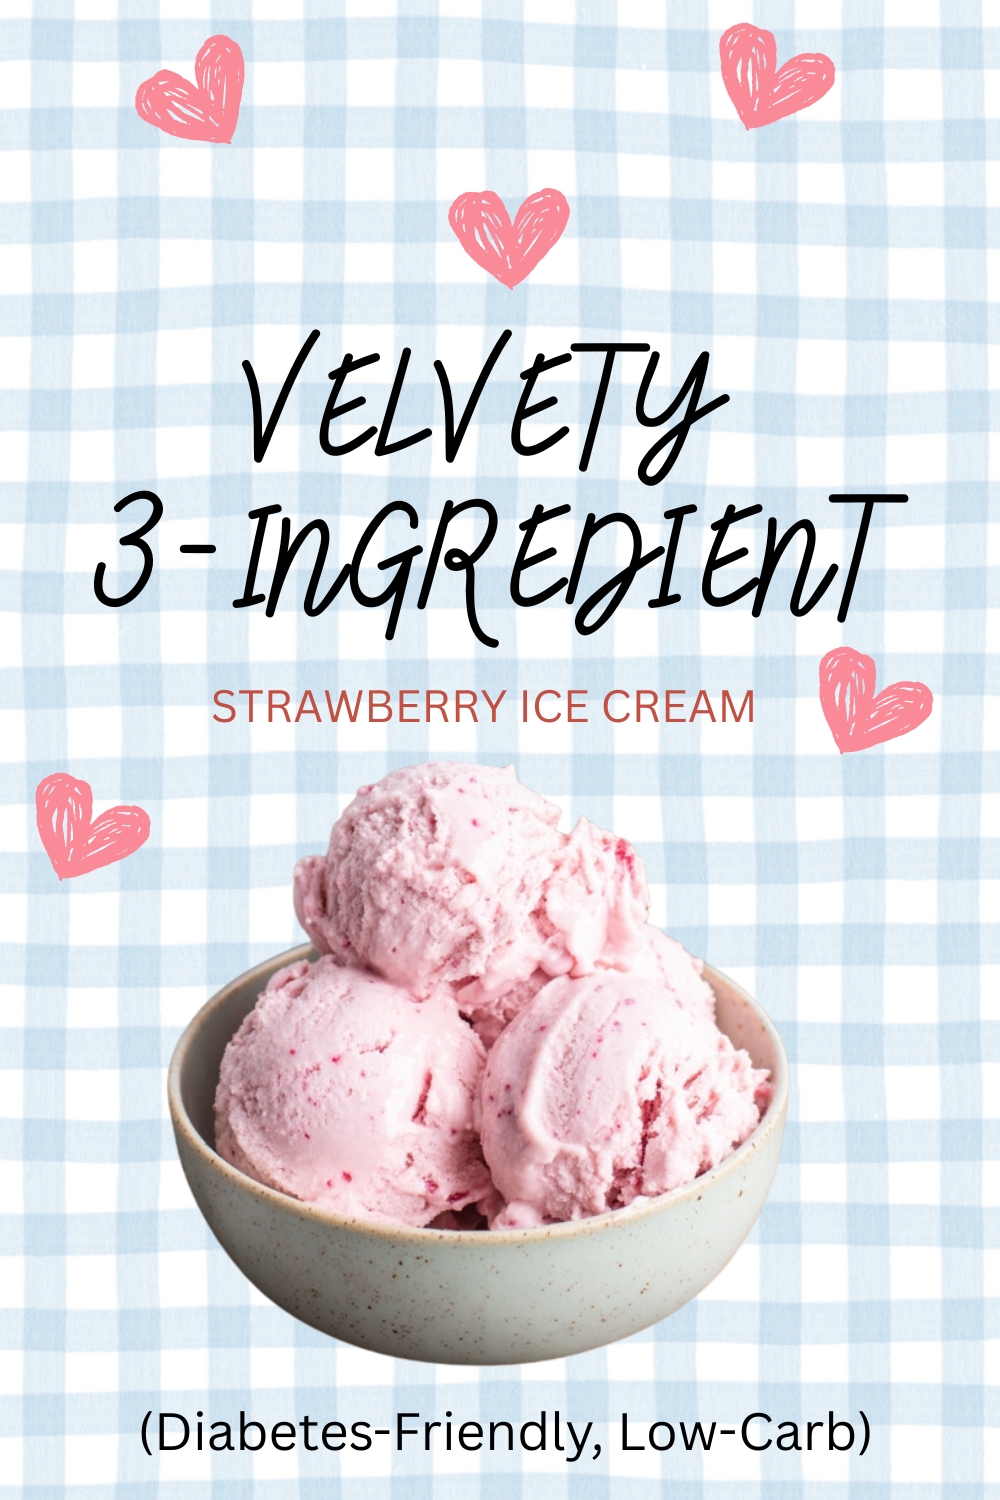
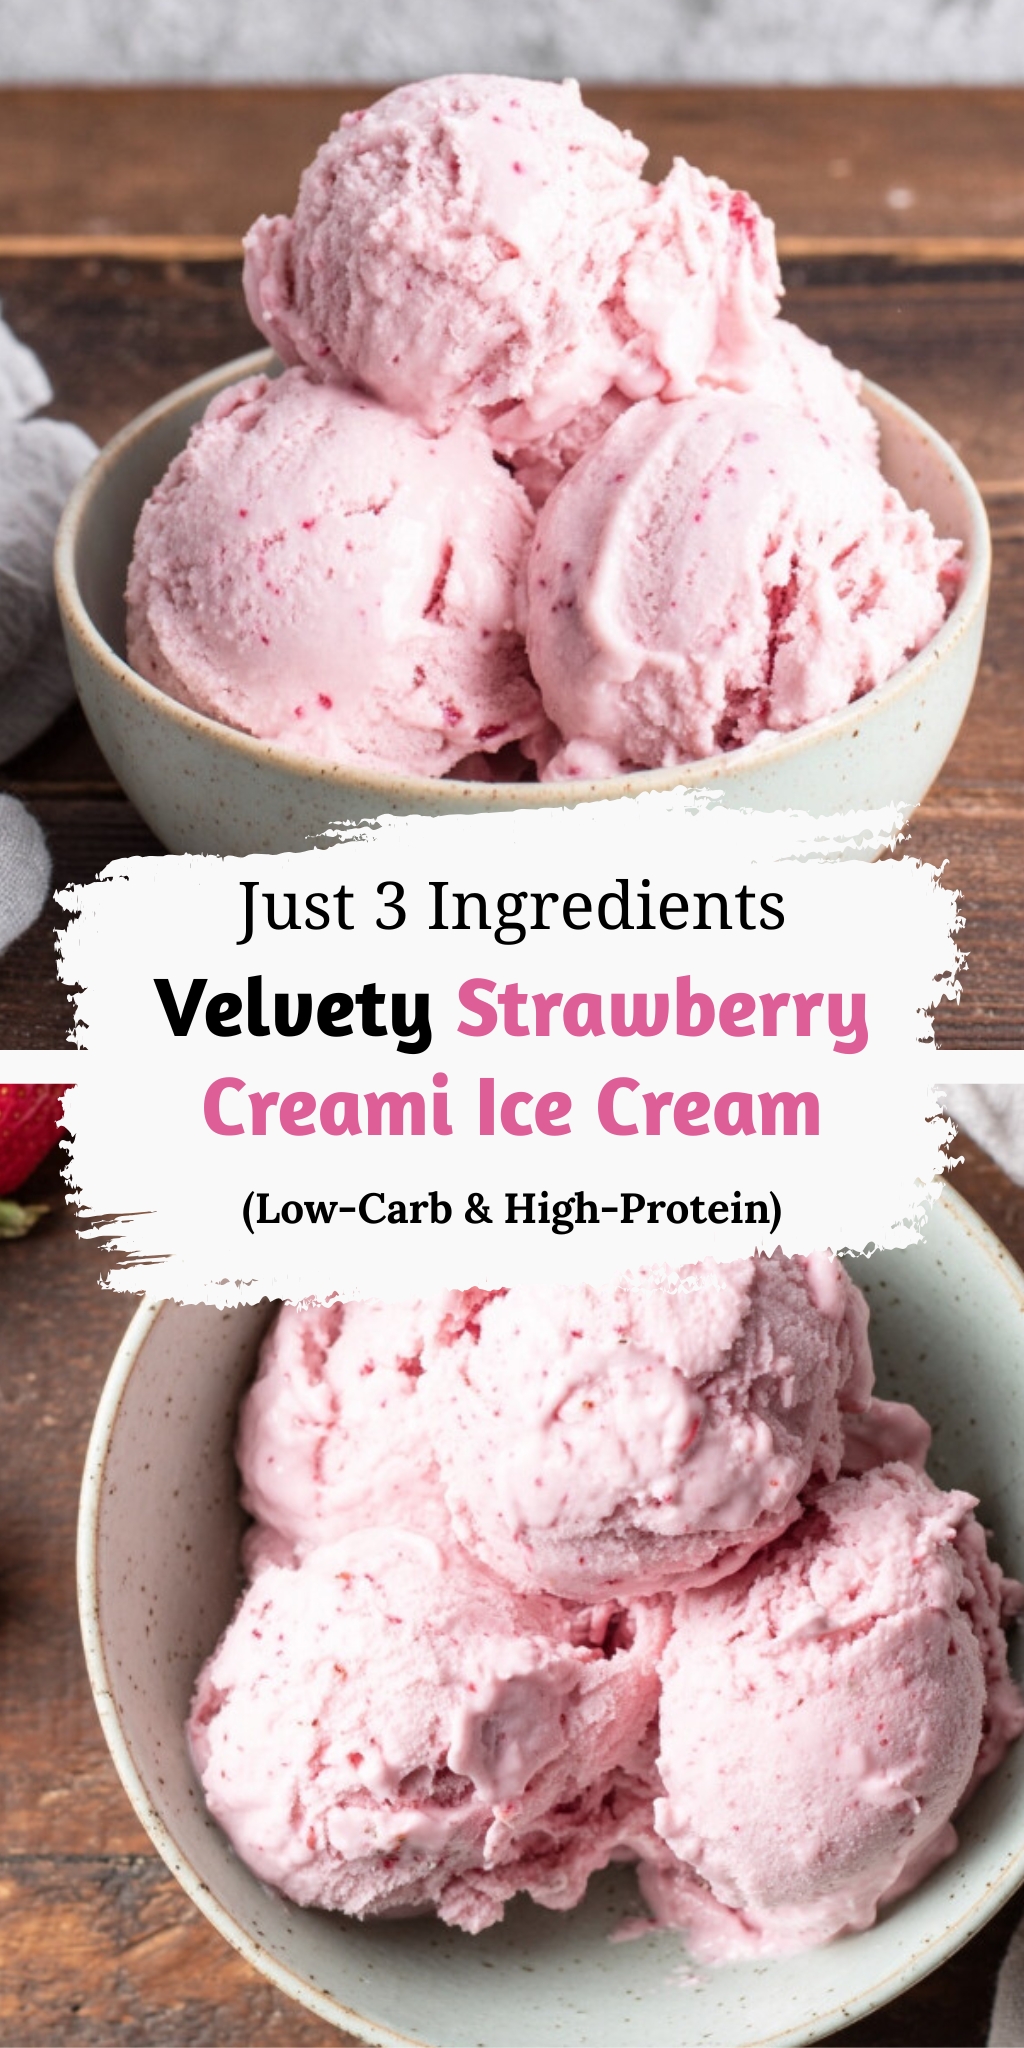
Stop settling for icy, rock-hard homemade pints and dive into a scoop that feels luxuriously silky and intensely fruity. This simple ninja creami strawberry ice cream recipe transforms three humble ingredients into a decadent escape that rivals any artisanal shop, offering a rich, creamy melt that satisfies perfectly.
 This post may contain affiliate links.
Why This Recipe Works
- Texture Alchemy: Unlike traditional churning, the Creami’s blade technology shaves ice crystals into micro-particles, creating a gelato-like consistency even with lighter ingredients.
- Flavor Amplification: Using whole, fresh strawberries instead of artificial syrups ensures every bite delivers a bright, authentic berry punch that feels sophisticated.
- Effortless Prep: With no tempering of eggs or cooking custard required, the hands-on time is minimal—just blend, freeze, and let the machine do the heavy lifting.
For those days when you crave something rich and chocolatey instead, my The Creamiest 3-Ingredient Chocolate Mousse is a fantastic low-carb alternative. If you are looking for a quick treat for the kids that doesn’t require a 24-hour freeze, the Chocolate Strawberry Nice Cream Recipe is a crowd-pleaser.
Crafting Your Creamy Pint
The beauty of this method lies in the “freeze and shave” technique. Start by blending your ultra-filtered milk, sweetener, and fresh strawberries until the mixture is perfectly smooth and frothy. This aeration is key to a lighter final texture.
Pour the base into your pint container, ensuring you stay below the max fill line to allow for expansion. Freeze it on a flat surface for a full 24 hours. Don’t rush this step—a solid freeze ensures the blade processes the ice evenly rather than spinning it into slush.
Spinning to Perfection
Once frozen, lock it into the machine and run the “Lite Ice Cream” cycle. If it looks crumbly (a common occurrence with low-fat bases), simply add a splash of milk and hit “Re-Spin.” This magically transforms the powder into a glossy, cohesive cream.
Tips for the Best Scoop
- The Thaw Trick: Let your frozen pint sit on the counter for 10–15 minutes before spinning. This softens the outer ice crystals and often prevents the need for a re-spin.
- Sweetener Balance: If your strawberries are tart, taste your liquid base before freezing. It should taste slightly sweeter than you want the final ice cream to be, as freezing dulls sweetness perception.
- Serving Suggestions: This pairs beautifully with a crunchy element. I love crumbling Effortless 3-Ingredient Peanut Butter Cookies on top for a texture contrast. For a decadent keto-friendly feast, serve alongside a slice of Velvety 3-Ingredient Keto Cheesecake Mousse Cake.
Common Questions
Can I use frozen fruit?
Absolutely. Just thaw the strawberries slightly before blending to ensure the base is smooth. Many find frozen berries are actually sweeter since they are picked at peak ripeness.
Is this suitable for meal prep?
Yes! You can keep spun ice cream in the freezer, though it will harden. Simply run the re-spin cycle again when you’re ready to eat for that fresh-churned texture.
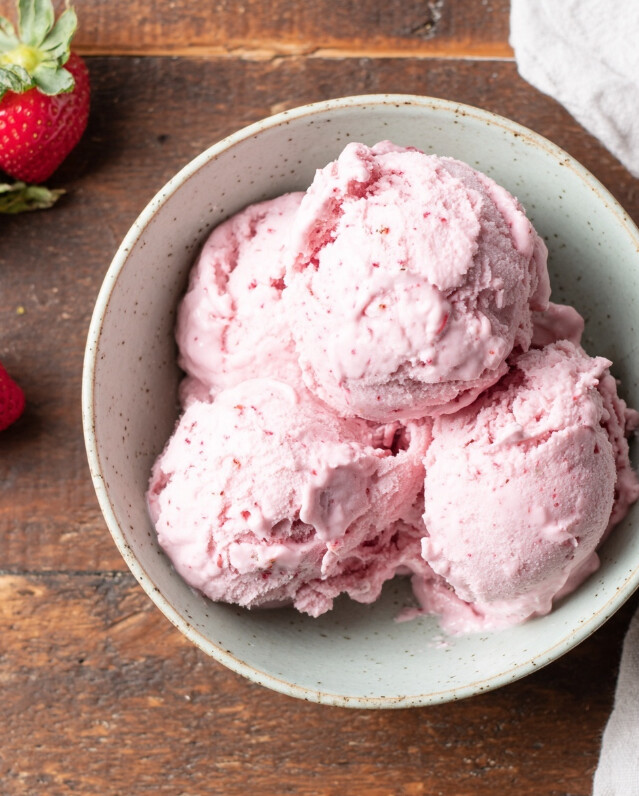
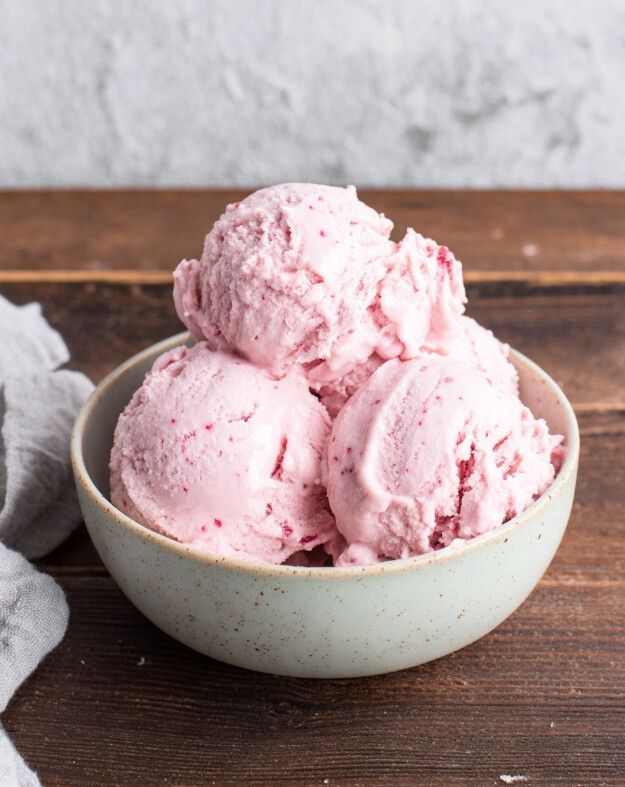
Velvety 3-Ingredient Strawberry Creami
This ultra-simple, home-style frozen treat transforms just three humble ingredients into a luxurious dessert that rivals your local scoop shop. By using ultra-filtered milk and natural sweeteners, we keep the texture rich and creamy while staying perfectly balanced and light. It’s a guilt-free indulgence my family loves on warm afternoons!
- Total Time24 hours 10 minutes
- Yield3 servings (approx. 1 pint total; slight leftover amount may vary based on aeration) 1x
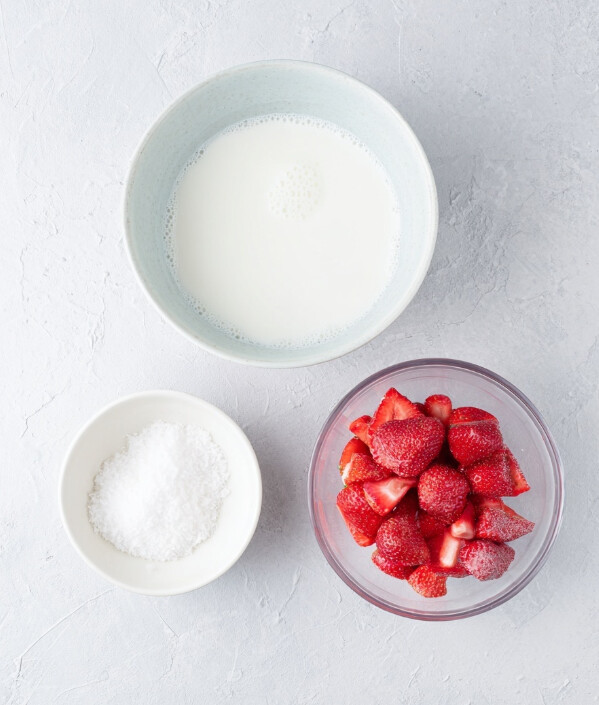
Ingredients
- 1 cup Ultra-filtered whole milk (like Fairlife; reduced volume ensures the pint doesn’t overflow)
- 2 ½ tablespoons Granulated monk fruit sweetener (adjust slightly if berries are very tart)
- 1 heaping cup Fresh strawberries (washed, hulled, and halved; ensures a vibrant natural flavor)
Instructions
- Prepare the Base: In a high-speed blender, combine the fresh strawberries, monk fruit sweetener, and ultra-filtered milk. Blend on high until the mixture is completely smooth, frothy, and uniform in pink color.
- Freeze: Pour the blended strawberry liquid into your Ninja Creami pint container. With these adjusted quantities, the liquid should sit safely below the “Max Fill” line to allow for expansion. Secure the storage lid and place it on a level surface in your freezer for 24 hours to freeze solid.
- Spin: Remove the pint from the freezer and take off the lid. Place the pint into the outer bowl, insert the paddle into the outer lid, and lock the assembly into place on the machine base.
- Process: Select the “Lite Ice Cream” function (or “Ice Cream” depending on your model) and allow the cycle to run completely.
- Perfect the Texture: If the mixture appears crumbly or powdery after the first spin (common with lower-fat bases), simply create a small well in the center, add a tablespoon of milk (fresh from the fridge), and select the “Re-Spin” button. Repeat if necessary until the texture is silky smooth.
- Serve: Scoop immediately into bowls and enjoy this light, refreshing dessert.
Notes
Personal Twist
- Temperature Tip: Let the frozen pint sit on the counter for about 10–15 minutes before spinning. This slight thaw softens the ice crystals, often resulting in a creamier texture without needing a re-spin.
- Flavor Pop: If your strawberries are out of season and lacking punch, add a tiny pinch of salt to the blender; it helps suppress bitterness and amplifies the fruit’s natural sweetness without adding sugar.
- Texture Hack: For a consistency closer to soft-serve frozen yogurt, run the “Re-Spin” cycle twice regardless of the initial texture—this incorporates more air for a fluffier mouthfeel.
- Allergy Alert: This recipe contains dairy (milk). For a dairy-free version, substitute with canned coconut milk, though this will alter the fat content and nutrition profile.
Nutrition Facts (1/2 cup): Calories: 70 kcal | Total Fat: 3 g (Saturated Fat: 1.5 g) | Cholesterol: 10 mg | Sodium: 40 mg | Total Carbs: 6 g (Fiber: 1 g, Sugars: 4 g) | Net Carbs: 5 g | Protein: 5 g
These values are approximate and may vary based on ingredients and preparation. Based on standard nutritional data using Fairlife Whole Milk.
- Prep Time: 5 minutes
- Cook Time: 5 minutes
- Category: Dessert
- Method: Blending / Freezing
- Cuisine: American
I hope this recipe brings a little moment of joy to your day. It’s become a staple in my kitchen because it feels like a treat but uses ingredients I feel good about. It’s refreshing, simple, and totally delicious.
Disclaimer: I’m just a food enthusiast and mom sharing recipes that keep my family happy and balanced. Always listen to your own body and consult a medical professional before making significant dietary changes!
Kristina Hanson is an independent wellness researcher and the founder of DailyZests. She specializes in translating nutritional science into simple, delicious recipes that fit into real life. When she isn’t in the kitchen, you’ll find her hiking the trails or enjoying a slow morning coffee with her Golden Retriever, Barnaby. Read her full story.
")

")
")
")
")
I subbed 3 tbsp of allulose instead of the monk fruit. Because allulose doesn’t freeze rock solid, I only had to run the lite ice cream cycle once. No respin needed lol. Nice diabetic-friendly recipe.
You nailed the chemistry behind it! Allulose is excellent for depressing the freezing point in low-sugar desserts, yielding a softer scoop while remaining totally blood-sugar friendly.