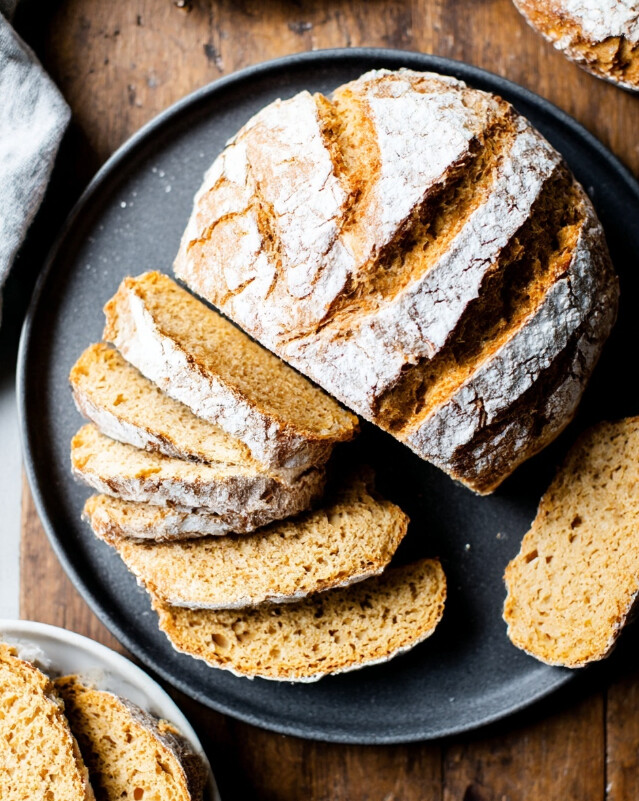
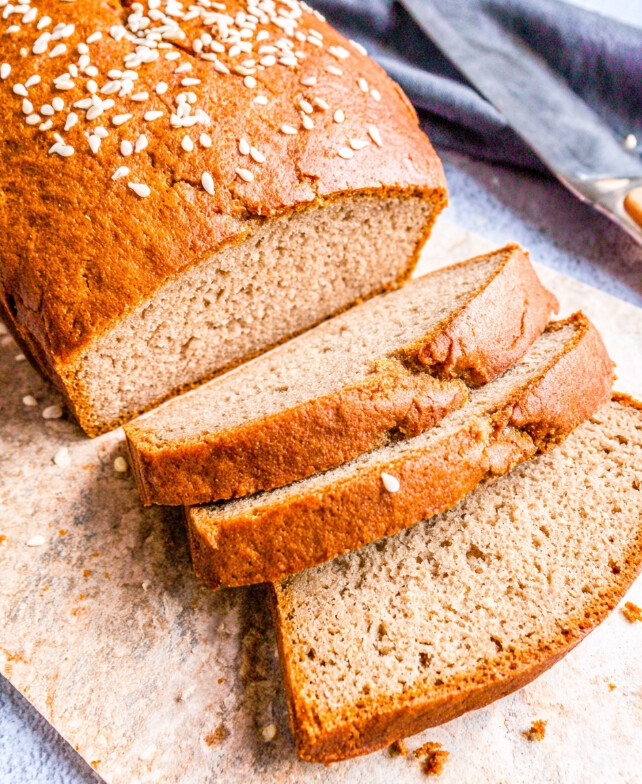
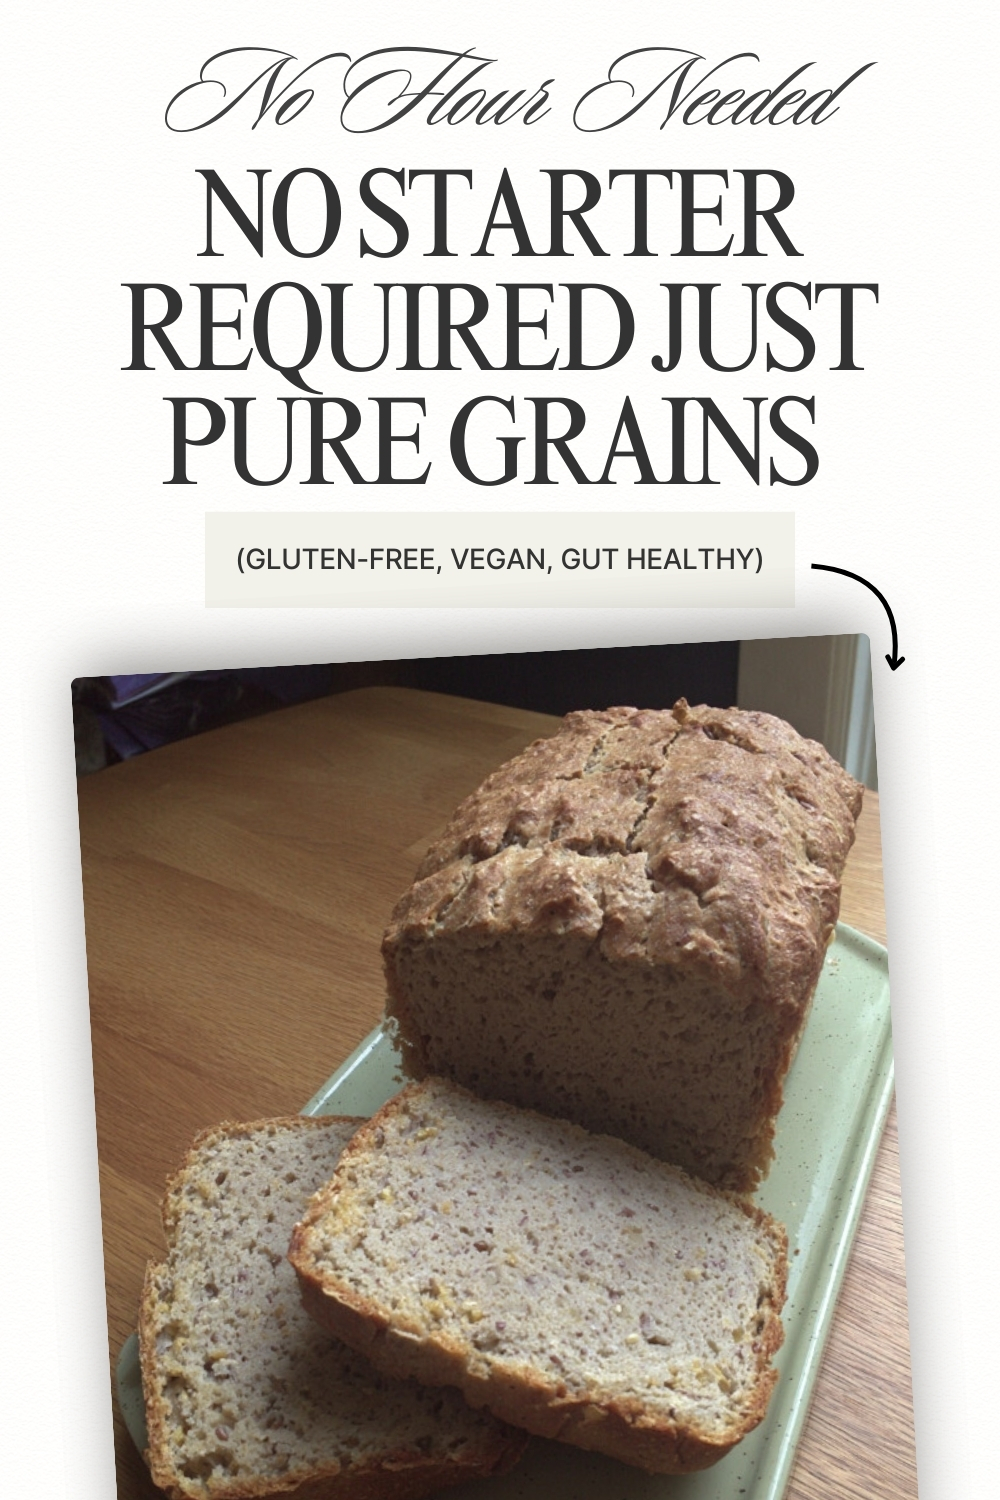
Tired of crumbly, dense gluten-free loaves? This magical gluten free buckwheat bread recipe transforms simple soaked grains into a shatteringly crisp, deeply satisfying artisan loaf. Forget complicated kneading; you just blend, ferment, and bake your way to pure bakery-style comfort.
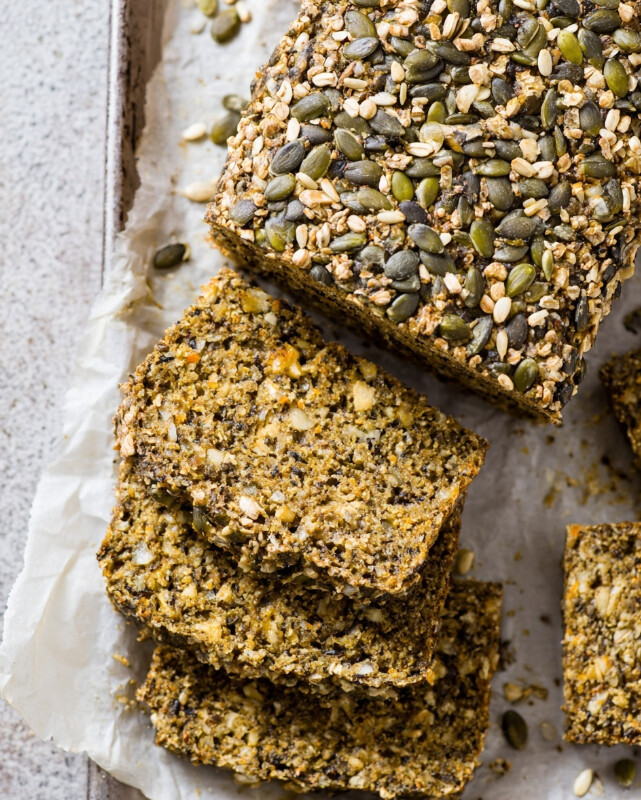
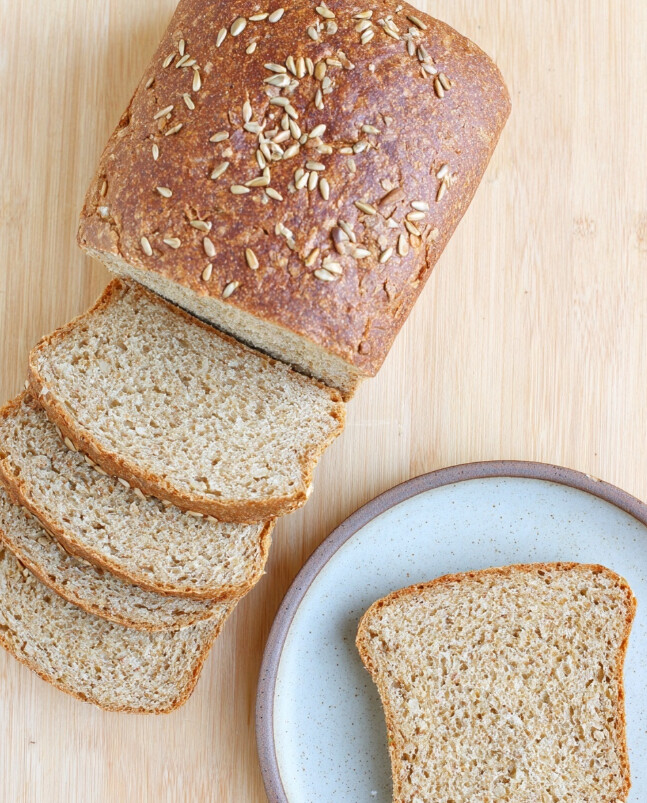
Bakery-Quality Texture: Natural fermentation creates gorgeous air pockets and a perfectly chewy, rustic crumb.
Zero Weird Additives: Rely on wholesome pantry staples without a single pinch of artificial gums or highly processed starches.
Effortless Preparation: Let the blender and time do the heavy lifting while the active, hands-on prep stays astonishingly minimal.
The Simple “How-To”
The secret to this vegan buckwheat quinoa bread lies in the magic of soaking. First, let your raw grains sit in cool water to soften. Once thoroughly rinsed, toss them right into your blender with fresh water, flaxseed, and psyllium husk.
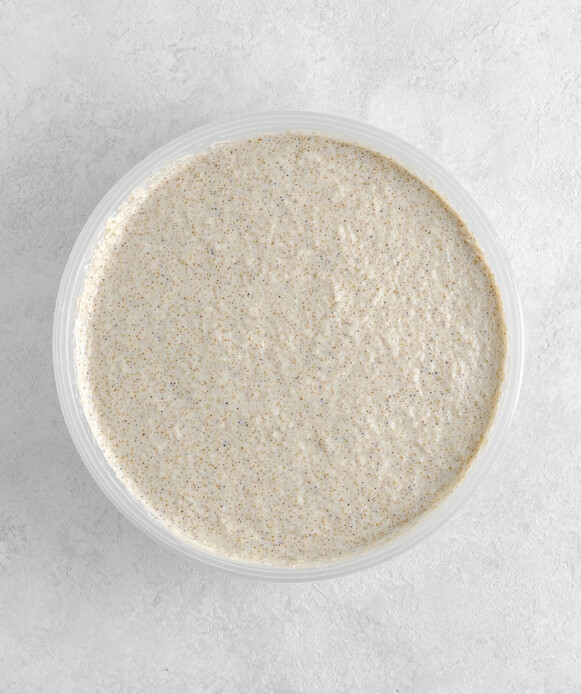
Pour the smooth batter into a glass bowl, cover it, and let it ferment overnight until beautifully bubbly. Finally, fold in a little salt, pour it into a lined pan, and bake until beautifully golden and hollow-sounding.
Pro Tips for the Perfect Bake
As a former food photographer, I’ve spent hours watching how ingredients behave. Here is what guarantees a gorgeous, camera-ready loaf every single time:
Rinse thoroughly: Buckwheat creates a natural mucilage. Rinsing it incredibly well under cool water ensures your loaf doesn’t become overly dense.
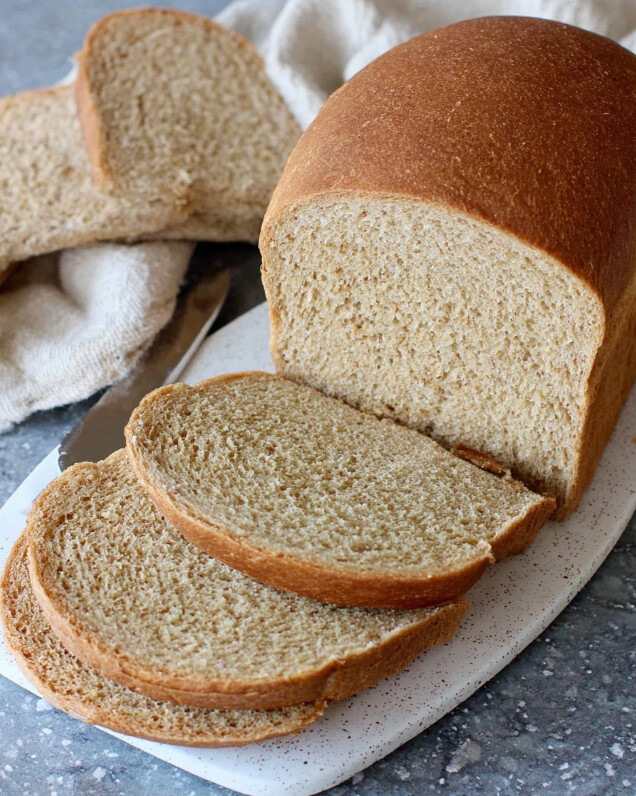
Let it cool completely: This is the hardest part! Slicing while warm ruins the beautiful crumb. Give it at least two hours to set perfectly on a wire rack.
Can I use toasted kasha? No, you must use raw, pale green buckwheat groats. Toasted grains will not ferment or bind properly to create that gorgeous rise.
How should I store this? Keep it wrapped tightly in a clean kitchen towel on your counter for up to two days. For longer storage, slice the whole loaf and freeze the slices with parchment paper in between!
This robust, gluten-free loaf offers the complex, tangy flavor of artisan sourdough without the need for a starter. By naturally fermenting buckwheat and quinoa, we unlock a distinctively nutty taste and a soft, open crumb. This updated version incorporates ground flaxseed and a hint of psyllium husk to boost fiber and healthy fats, improving the bread’s structure while ensuring a slower, steadier energy release. It creates a sturdy, wholesome slice perfect for toasting.
Soak the grains: Place the buckwheat groats and quinoa into a large glass bowl. Cover them with plenty of cool water (at least 2 inches above the grains). Let this mixture sit at room temperature for 4 to 6 hours. Avoid soaking longer than 8 hours to prevent the texture from becoming too soft.
Rinse thoroughly: Pour the grains into a fine-mesh strainer. Rinse under cool, running water for at least a minute, tossing gently with your hand or a spoon, until the water runs completely clear and the mixture feels less slippery (buckwheat naturally releases a mucilage that needs to be rinsed off).
Sprout (Optional step): For increased nutrient availability, leave the rinsed grains in the strainer set over a bowl for 12–24 hours, rinsing quickly every 6 hours. Once tiny white “tails” appear, they are ready. If short on time, simply drain well after rinsing and proceed to the next step.
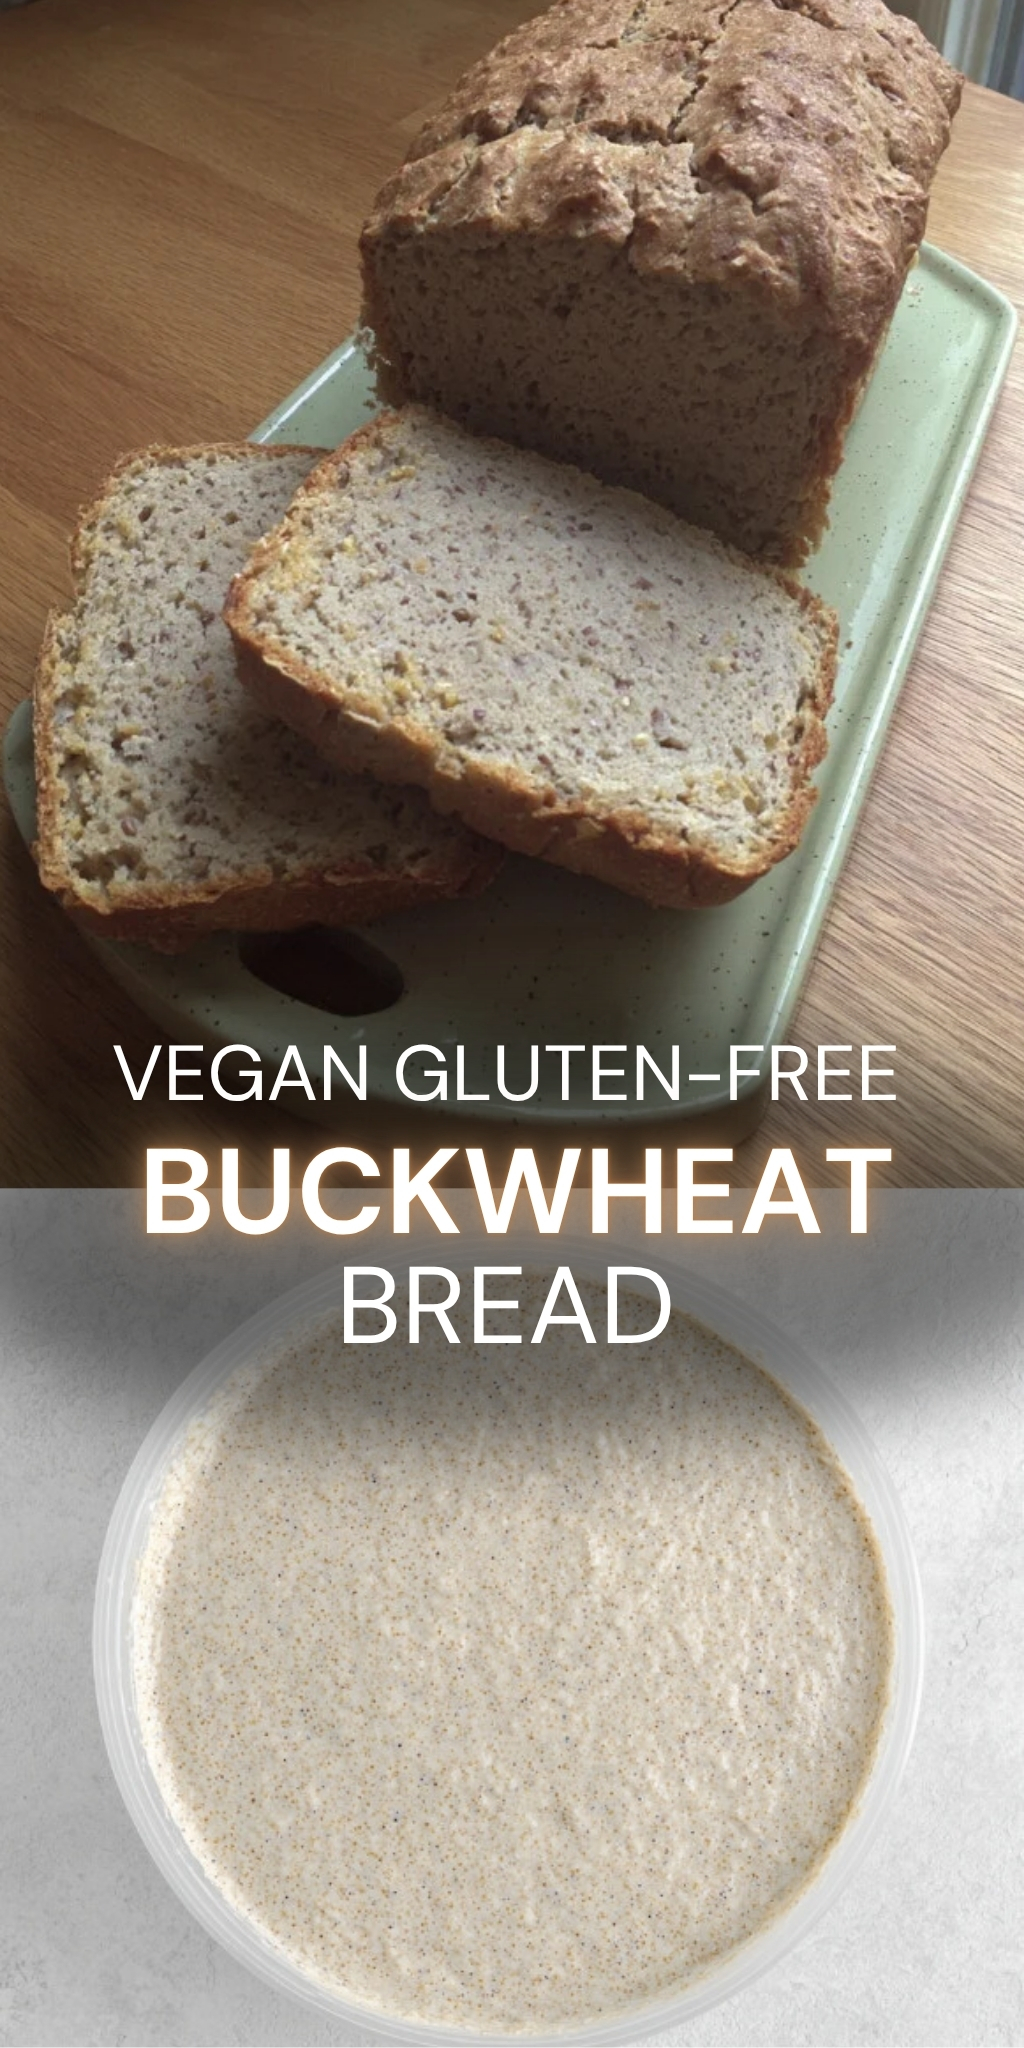
Blend into batter: Transfer the prepared grains into a high-speed blender. Add the 1 1/4 cups of fresh filtered water, apple cider vinegar, ground flaxseed meal, and psyllium husk powder. Blend on high until the mixture is creamy and smooth. A few tiny specs are fine, but it should resemble a thick pancake batter.
Ferment the dough: Pour the batter into a clean mixing bowl (glass or ceramic is best). Cover with a breathable cheesecloth or a clean tea towel. Place in a warm, draft-free spot (ideally around 80°F/27°C) for approximately 12 to 14 hours.
Check for activity: The batter is ready when it has expanded by roughly 30% and is filled with bubbles, smelling slightly sour and yeast-like. If your kitchen is cool, this may take a few hours longer.
Season and Proof: Preheat your oven to 350°F (177°C). Line a standard 8×4 inch loaf pan with parchment paper. Gently fold the salt into the fermented batter with a spatula—be careful not to deflate those precious air pockets! Pour the batter into the pan and let it rest on the counter for 30 minutes to proof slightly.
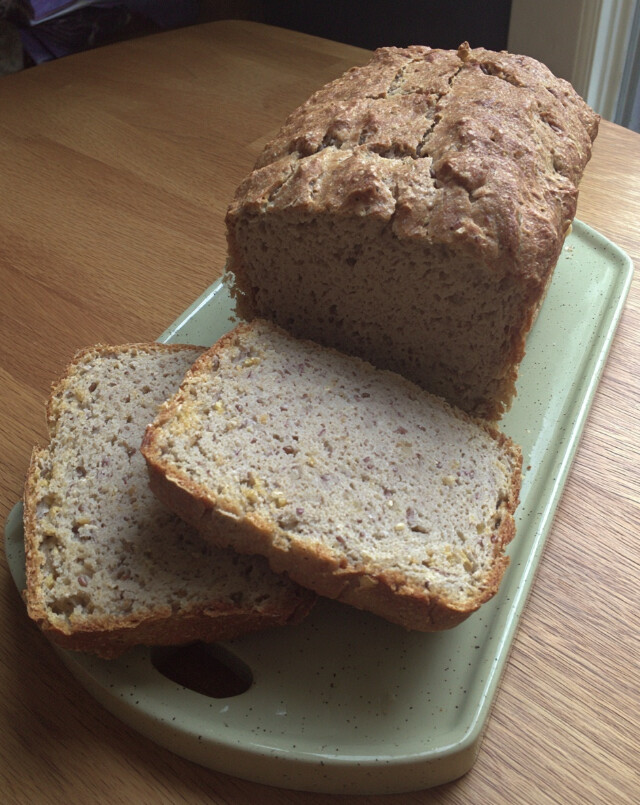
Bake: Place the loaf pan in the center of the oven. Bake for 85 to 90 minutes. The bread is done when the top is a deep golden brown, it has pulled away from the sides of the pan, and the loaf sounds hollow when tapped.
Cool completely: Lift the bread out of the pan using the parchment paper and place it immediately on a wire cooling rack. Important: Let the loaf cool completely (at least 2 hours) before slicing. Cutting it while warm will result in a gummy texture.
Allergy Alert: This recipe is naturally gluten-free, vegan, and nut-free. Ensure oats/grains are certified gluten-free if you have Celiac disease.
Storage: This bread is preservative-free. Keep wrapped in a clean towel on the counter for 2 days. For longer storage, slice the entire loaf and freeze slices with parchment paper between them; toast directly from frozen.
Personal Twist
Savory Breakfast: Toast a slice until very crisp and top with mashed avocado and a sprinkle of hemp seeds for a nutrient-dense start to the day.
Sandwich Swap: This bread is denser than commercial wheat bread; use open-faced “smørrebrød” style sandwiches to keep the carb count lower while maximizing toppings.
Flavor Boost: For an aromatic variation, mix 1 teaspoon of dried rosemary or caraway seeds into the batter just before pouring it into the loaf pan.
Nutrition Facts per Serving (1 slice, 1/16 loaf): Calories: 111 kcal | Total Fat: 1.7 g (Saturated Fat: 0.3 g, Trans Fat: 0.0 g, Monounsaturated Fat: 0.4 g, Polyunsaturated Fat: 0.8 g) | Cholesterol: 0 mg | Total Carbs: 21.4 g (Dietary Fiber: 3.3 g, Total Sugars: 0.0 g, Added Sugars: 0.0 g, Net Carbs: 18.0 g) | Protein: 4.2 g | Sodium: 110 mg | Potassium: 155 mg | Calcium: 10 mg | Iron: 0.9 mg | Vitamin D: 0 mcg.
Disclaimer: Nutrition information is an estimate calculated using USDA data and is provided for informational purposes only. Actual values may vary based on ingredient brands, portion sizes, and cooking methods. This information is not medical advice. Consult a qualified healthcare professional for personalized guidance.
Prep Time:20 minutes
Cook Time:1 hour 30 minutes
Category:Breads
Method:Baking
Cuisine:American / Health-Conscious
Nutrition
Serving Size:1 slice, 1/16 loaf
Calories:111
I hope this rustic loaf brings as much joy to your kitchen as it does to mine! It truly is a delicious choice for your day. Disclaimer: I’m just a food writer and home cook sharing what works beautifully for my family, not a nutritionist. Always listen to your own body (and your doctor) when making dietary changes!
Kristina Hanson is an independent wellness researcher and the founder of DailyZests. She specializes in translating nutritional science into simple, delicious recipes that fit into real life. When she isn’t in the kitchen, you’ll find her hiking the trails or enjoying a slow morning coffee with her Golden Retriever, Barnaby. Read her full story.


 This post may contain affiliate links.