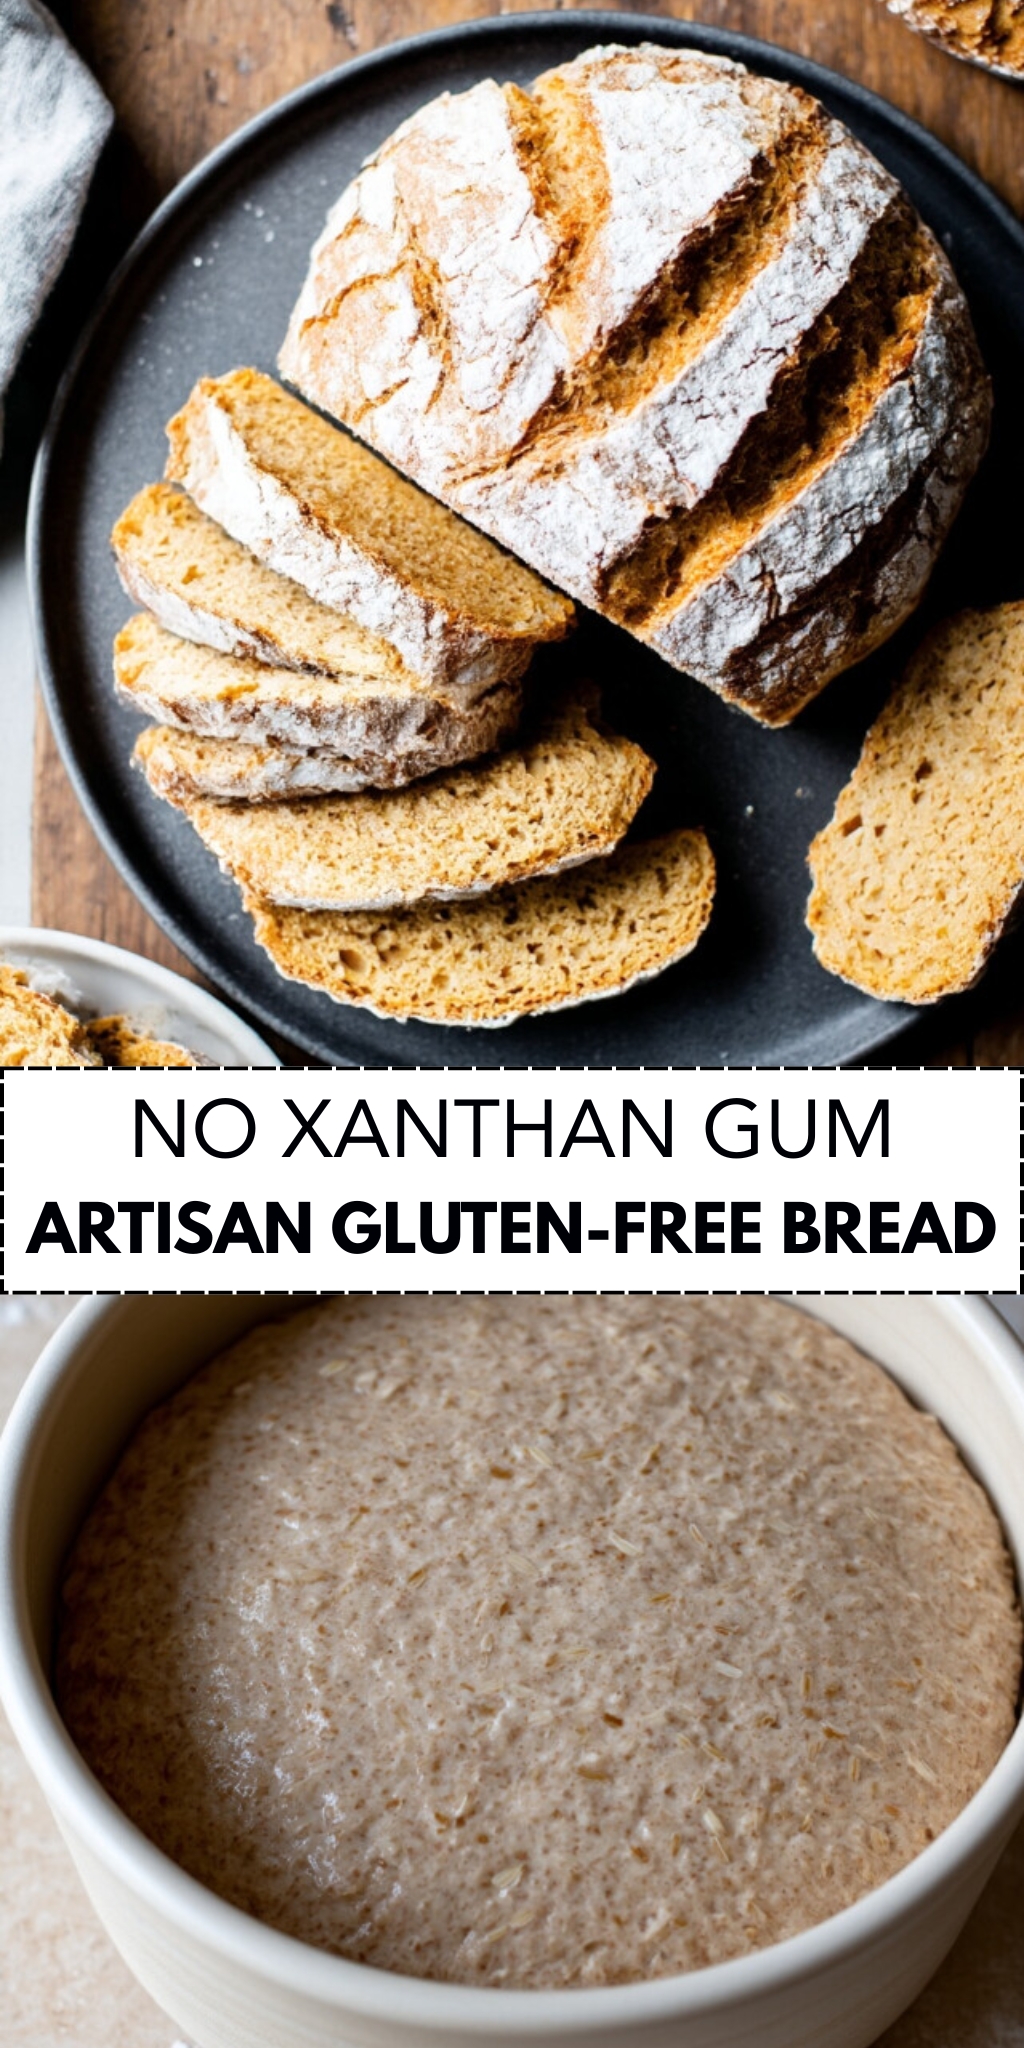
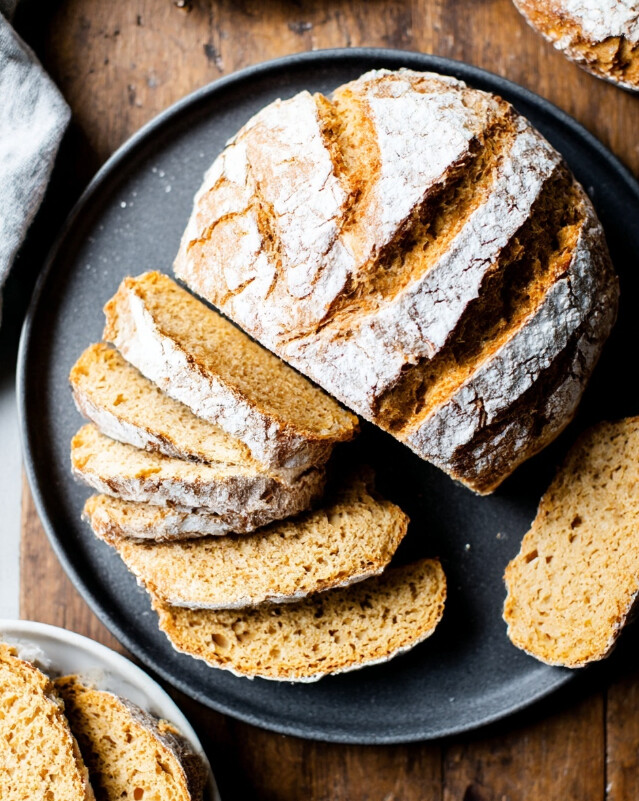
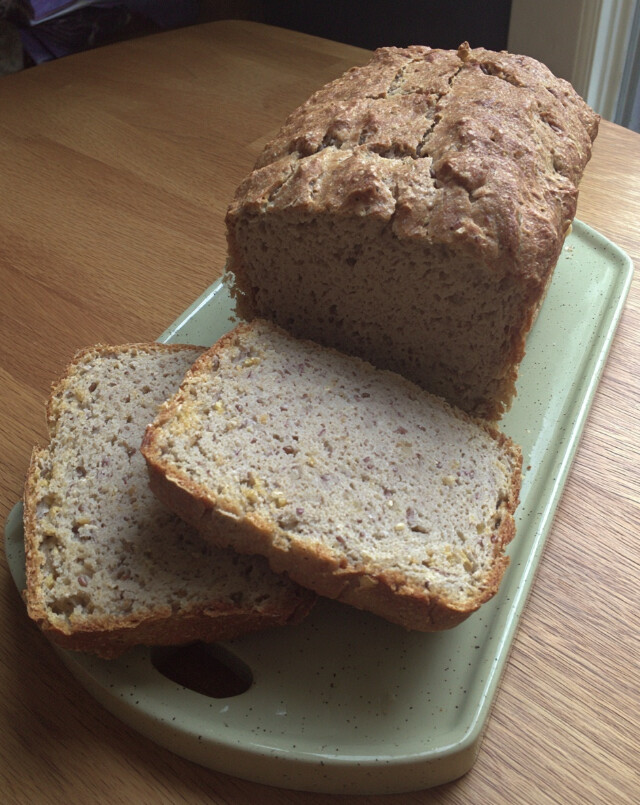
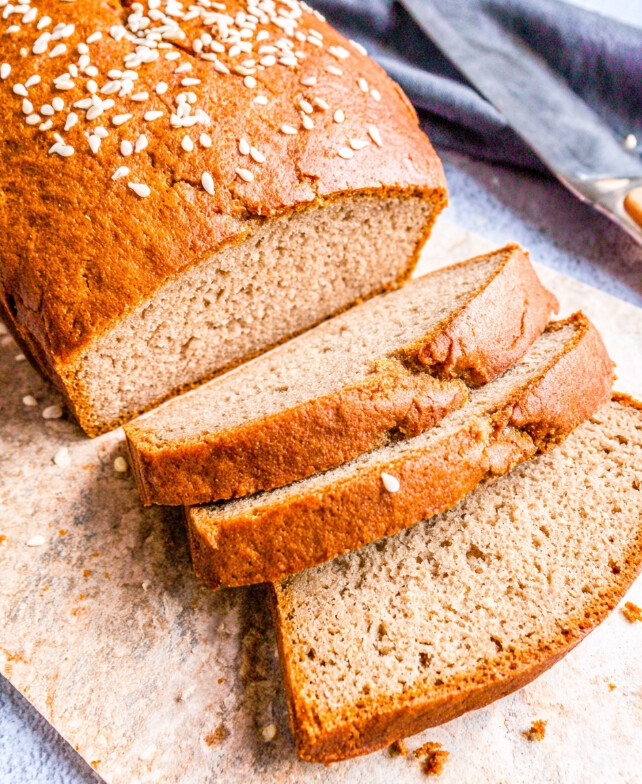
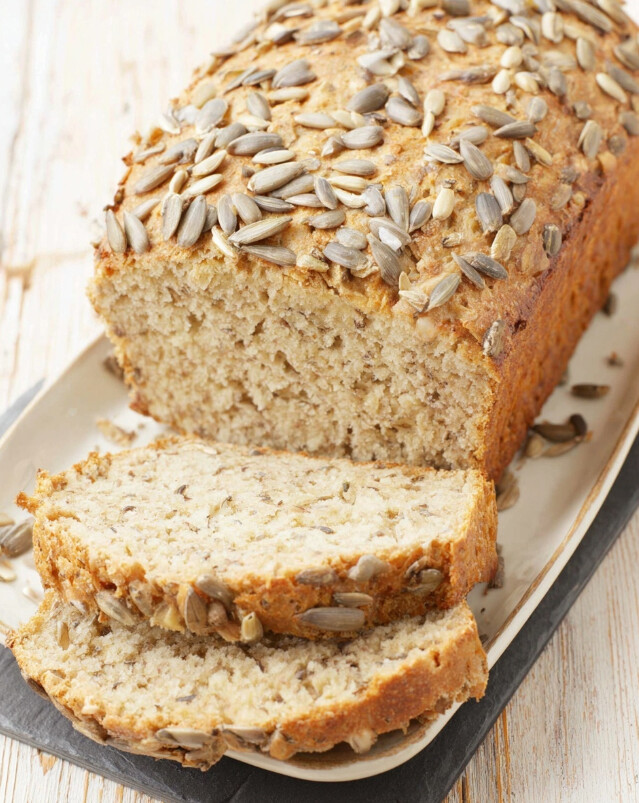
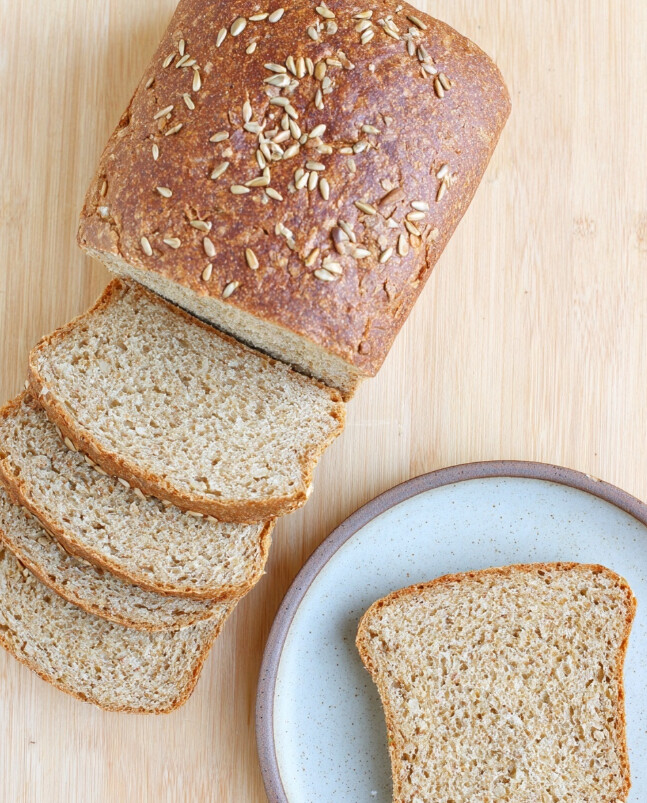
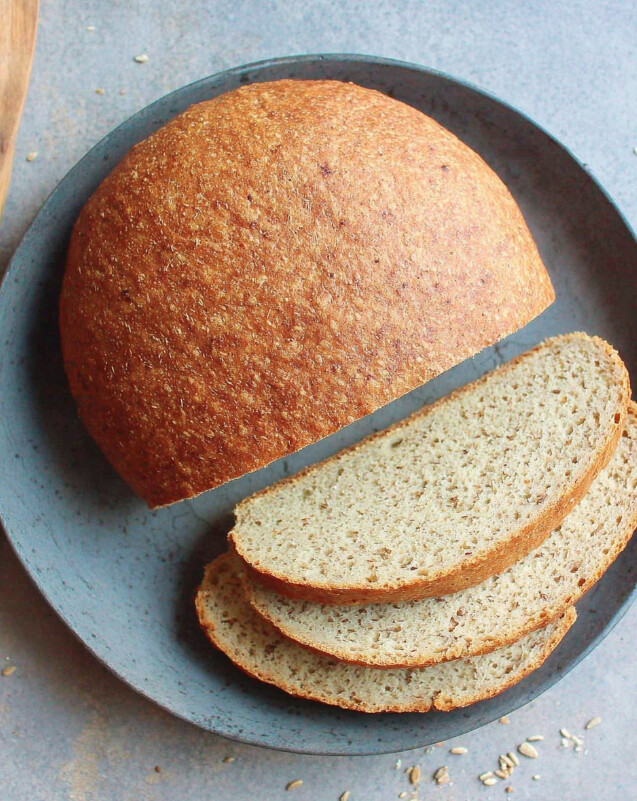
Craving a rustic loaf with a shatteringly crisp crust and pillowy interior? This gluten free artisan bread recipe is the answer to your bakery dreams, using whole grains and psyllium for that perfect chew. It’s a warm, comforting slice of home that finally makes sandwiches exciting again.
Bakery-Style Crunch: By using a preheated skillet and ice cubes, we create a steam oven effect that guarantees that covetable, crackly exterior without fancy equipment.
Perfectly Chewy Crumb: Unlike dry alternatives, this syllium husk gluten free loaf locks in moisture, creating a flexible texture that doesn’t crumble when you slice it.
Wholesome Ingredients: We skip the starches and gums for a blend of sorghum, brown rice, and quinoa flours, delivering a deep, nutty flavor profile.
The “Magic” Ingredients
I know gluten-free baking can be intimidating, but this no gum gluten free bread relies on simple chemistry. The “gel” made from psyllium husks acts just like gluten, providing that essential stretch and structure.
Plus, adding a touch of almond flour tenderizes the crumb, making this a healthy gluten free bread with whole grains that feels genuinely nourishing. It’s hearty enough to keep me satisfied, yet light enough for my morning toast.
How to Bake It
1. Bloom the Yeast: Start by waking up your yeast in warm water with a touch of maple syrup until it’s bubbly and fragrant. If it doesn’t foam, start over!
2. Make the Gel: Whisk the psyllium husks with water and apple cider vinegar. It will thicken into a gel quickly—this is the secret binder.
3. Mix & Rise: Combine the gel with your dry flour blend. The dough will be sticky. Let it rise once, then shape it into a round ball.
4. The Steam Bake: Preheat your oven with a skillet inside. Once the loaf is shaped and scored, toss ice cubes into the hot skillet when you slide the bread in. That burst of steam creates the magic crust!
Serving Suggestions & Storage
This bread is a chameleon. I absolutely love slicing it thin and toasting it until it’s like a sturdy cracker. It pairs beautifully with my Golden Mediterranean Lentil & Carrot Soup for a cozy, comforting lunch.
For a quick breakfast, try using these slices as the base for Sunshine-Kissed Lemon Blueberry Ricotta Toast. If you have family members who aren’t gluten-free, they usually end up stealing a slice of this anyway because the texture is just that good!
Cool Completely: It’s tempting to slice it warm, but waiting 2 hours prevents gumminess. Trust me on this one!
Freeze It: I slice the whole loaf once cooled and freeze it with parchment paper between slices. Pop a slice in the toaster whenever a craving strikes.
Common Questions
Can I make this nut-free? Yes! If you can’t do almond flour, ground golden flaxseed or sunflower seeds work as a perfect swap to keep the texture right.
Why do I need to weigh the flour? Gluten-free flours settle differently in the cup. Using a scale ensures you get the exact hydration needed for that soft, airy crumb.
Is oat flour safe? Always ensure your oat flour is certified gluten-free to avoid cross-contamination.
There is something deeply satisfying about pulling a rustic, crusty loaf out of your own oven, especially one that rivals the best bakery offerings while remaining completely gluten-free. This recipe achieves that elusive balance of a hearty, crisp exterior and a soft, chewy crumb by harnessing the power of whole grains and psyllium husk—no gums required. We’ve added a subtle splash of apple cider vinegar to the hydration phase and introduced a touch of almond flour, which boosts the healthy fat content and tenderizes the crumb without weighing it down. Slicing this dense, hearty loaf into 14 thin slices makes it an even lighter option, perfect for conscious portioning without sacrificing satisfaction.
Bloom the yeast: In a medium mixing bowl or large measuring cup, whisk together the warm water, 1 tablespoon of maple syrup, liquid stevia (if using), and yeast. Set this aside in a draft-free spot for about 10 minutes. You want the mixture to become bubbly and frothy, smelling distinctly of bread; if it remains flat, your yeast may be inactive and should be replaced.
Mix the dry base: While the yeast is waking up, whisk the sorghum, brown rice, almond, oat, and quinoa flours together with the salt in the bowl of a stand mixer until perfectly blended. Attach the paddle to the mixer.
Create the gel: Once the yeast mixture is frothy, whisk in the apple cider vinegar and the psyllium husks. Agitate immediately to break up any clumps. Let this stand for about 5 minutes; it will thicken significantly into a gel-like consistency.
Combine and mix: Pour the thickened wet mixture into the dry flour blend. Mix on medium speed for several minutes. You are looking for a cohesive dough that forms a somewhat loose, sticky ball—it won’t look quite like traditional wheat dough.
First rise: Turn the dough out onto a lightly oiled surface. With oiled hands (the dough will be tacky), knead gently a few times and tuck the sides under to form a smooth round. Place it seam-side down in a greased bowl, cover with a clean kitchen towel, and let it rise in a warm spot for 45 to 60 minutes, or until roughly doubled in bulk.
Shape and second rise: Gently turn the dough back onto your oiled surface. Knead briefly to redistribute the yeast activity, then reshape into a tight, round ball by tucking the edges underneath. Return to the bowl, this time seam-side up (this helps the final structure), cover, and let rise for another 30–45 minutes until doubled again.
Preheat with skillet: During this second rise, position one oven rack in the lower middle position and another near the top. Place a cast-iron skillet on the lower rack. Preheat your oven to 425°F (220°C). Allowing the oven to heat fully during the rise ensures a stable baking environment.
Score and steam: When ready to bake, carefully invert the dough onto a parchment-lined baking sheet so the seam is down. Using a sharp knife or lame, score the top with a few shallow slashes to control expansion.
Bake: Slide the baking sheet onto the upper rack. Immediately toss a cup of ice cubes into the hot cast-iron skillet below and quickly close the oven door to trap the steam (this creates that lovely crust). Bake for 50 minutes.
Cool: Check for doneness by tapping the bottom (it should sound hollow) or checking the internal temperature (aim for 205°F–210°F). Transfer to a wire rack and cool completely—ideally for at least 2 hours—before slicing to prevent gumminess.
Allergy Alert: This recipe contains almonds (tree nuts) and oats (ensure they are certified GF if sensitive). To make it nut-free, substitute the almond flour with an equal weight of ground golden flaxseed or sunflower seeds.
Slicing Tip: For best results and to meet the nutritional estimates, slice the cooled loaf into 14 even, thin slices. A serrated electric knife or a very sharp bread knife works best.
Flour Sourcing: If you cannot find oat flour, you can make your own by pulsing certified gluten-free rolled oats in a high-speed blender until fine.
Personal Twist
Toast for Texture: Because gluten-free whole grains are denser, this bread truly shines when toasted twice. The double-toast creates a sturdy, cracker-like crunch that holds up beautifully to avocado or heavy soups.
Freezer Friend: Slicing the entire loaf once cooled and freezing the slices with small parchment squares between them ensures you always have fresh bread ready to pop directly into the toaster.
Savory Herb Infusion: For a more aromatic loaf without changing the chemistry, try adding 1 teaspoon of dried rosemary or thyme into the dry flour mix before adding the wet ingredients.
Nutritional info (per thin slice, 1/14th of loaf): Calories: ~135 | Total Fat: 3g (Saturated: 0.4g) | Cholesterol: 0mg | Sodium: 170mg | Total Carbs: 23g (Fiber: 4g, Sugars: <1g) | Net Carbs: 19g | Protein: 3.5g
These are approximate estimates based on standard nutritional data and are not intended as medical advice or a substitute for professional nutritional consultation. Values may vary based on brands, exact measurements, and specific ingredients. For precise calculations, use a nutrition tracking app like MyFitnessPal or consult a reliable database or healthcare provider.
Prep Time:20 minutes
Cook Time:50 minutes
Category:Breads
Method:Baking
Cuisine:American (Artisan Style)
I hope this loaf brings the joy of bread baking back into your kitchen. There is nothing quite like the smell of fresh bread filling the house! Disclaimer: I’m just a mom sharing what works for my family, not a nutritionist. Always listen to your own body (and your doctor) when trying new dietary changes!
Kristina Hanson is an independent wellness researcher and the founder of DailyZests. She specializes in translating nutritional science into simple, delicious recipes that fit into real life. When she isn’t in the kitchen, you’ll find her hiking the trails or enjoying a slow morning coffee with her Golden Retriever, Barnaby. Read her full story.
Hi! Yes, absolutely. You can prepare the dough, let it do the first rise, shape it, and then place it in the fridge (covered) overnight for the second rise. In the morning, just take it out while your oven preheats to let it warm up slightly before baking. This slow rise can actually give the bread an even better flavor! Happy baking!
I have to admit I was a little nervous about the ice cube step, but it made SUCH a difference! This is the first time I’ve gotten a proper, rustic crust on a gluten-free loaf without it being rock hard. The crumb inside stayed super soft, too. We toasted slices this morning with some avocado and sea salt, and it was absolute perfection. Definitely adding this to my Sunday meal prep rotation.
That crunch is truly special, isn’t it? I am so happy you trusted the process with the steam it really does create that gentle balance between the crisp outside and the tender inside. It sounds like the perfect start to your morning; taking the time to nourish your body with wholesome grains is such a beautiful form of self-care. Enjoy those Sunday slices! 🍵



 This post may contain affiliate links.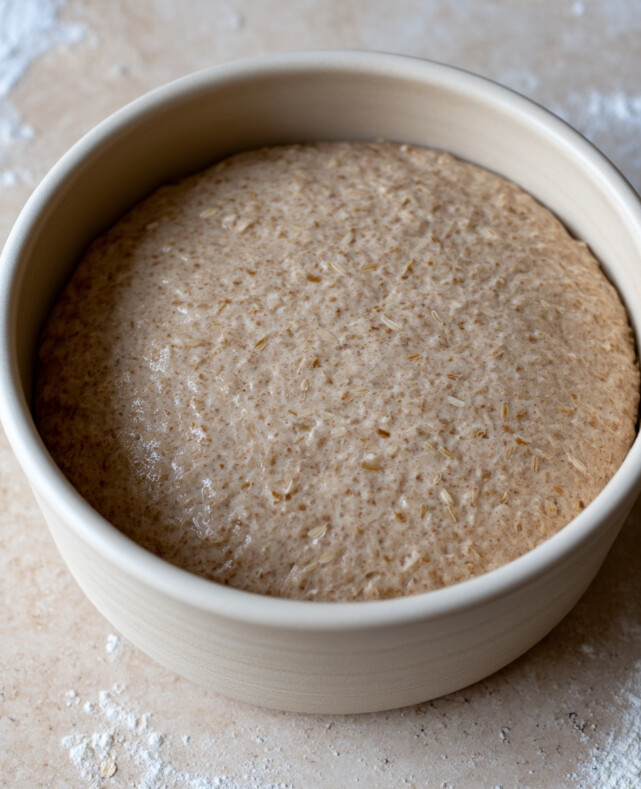



Hi, can you make this dough at night and bake it the next morning.
Hi! Yes, absolutely. You can prepare the dough, let it do the first rise, shape it, and then place it in the fridge (covered) overnight for the second rise. In the morning, just take it out while your oven preheats to let it warm up slightly before baking. This slow rise can actually give the bread an even better flavor! Happy baking!
I have to admit I was a little nervous about the ice cube step, but it made SUCH a difference! This is the first time I’ve gotten a proper, rustic crust on a gluten-free loaf without it being rock hard. The crumb inside stayed super soft, too. We toasted slices this morning with some avocado and sea salt, and it was absolute perfection. Definitely adding this to my Sunday meal prep rotation.
That crunch is truly special, isn’t it? I am so happy you trusted the process with the steam it really does create that gentle balance between the crisp outside and the tender inside. It sounds like the perfect start to your morning; taking the time to nourish your body with wholesome grains is such a beautiful form of self-care. Enjoy those Sunday slices! 🍵